Showing posts with label Ribbon. Show all posts

Wednesday, December 25, 2013

DIY Christmas Decorations

I'm not particularly creative, but when I saw this idea on Pinterest, I thought, heck, I can do that! I love it so much, that I figured I'd blog it in case anyone else wants to do it. Also, and more likely, so that I can remind myself how easy it was for Christmases in the future!

First, you need to gather your supplies: 
Literally, just ribbon (mine is from Sam's club, and is wired and covered in Glitter), scissors, and tape.  Here's an interesting note here: if you don't mind glitter all over your kitchen, glitter ribbon is great. If you're a clean freak: steer clear of the glitter. My counters, stovetop, and floor are covered in glitter!

Next, use the ribbon to determine how long you need it. I just had enough to wrap maybe 2 inches along the back of the cabinet at the top and bottom. 

Cut to size, then tape, yes, tape, the ribbon to the cabinet. That's it. Another note here: I'm one of the least OCD people you'll meet, and I also have a terrible time deciding if things are straight or centered. If you are a little more OCD, the project may take a longer time, or you may want to just not do it. 


Another note, please be more intelligent than I am. In the process of cutting my first ribbon, I also cut the skin between my thumb and first finger (you know, that really skinny part?). I had to rush to the bathroom to stop the bleeding and grab a band-aid. I'm a klutz, so I'm sure that won't happen to you. 

Next step: gather your cards and something to attach them. Right now, I have all of 3 Christmas cards. So I picked them up and used paper clips. The pin I found had super cute clothespins, which is great also, but I had paperclips, so that's what I used. 
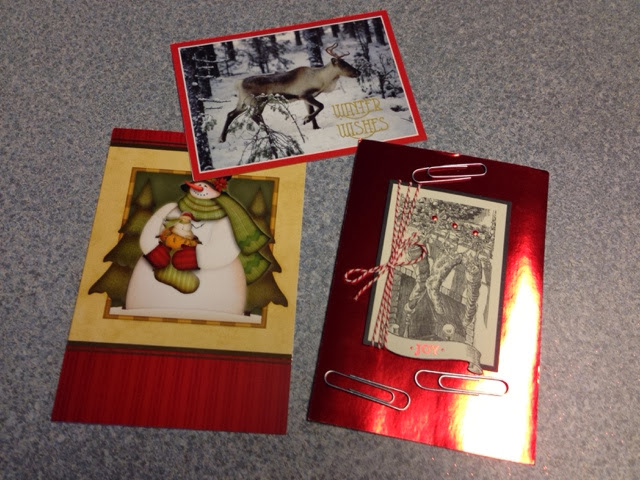

Attach the cards and you're done!! Here's my final project;


I love it! The husband: "mmmhmmm. Lovely." Drenched in sarcasm of course, as he is a grinch in regards to decorations. He's also a bit on the OCD side, so we'll see how many times I am asked to adjust the ribbon!

Happy decorating! 

Thursday, October 25, 2012

Fall Crafting

Do y'all know it's fall? I don't think Mother Nature does. Today it was 79 degrees. Mondays forecast is a high of 39 with a chance of snow. What the heck?

All the leaves here sure are changing though, which gave me a kick in the butt to finally make my fall wreath. I didn't take pictures of the process (I usually never take pictures), but I so have a final product pic!

1. Travel to your local craft store looking for a wreath form. Decide the styrofoam one isn't big enough and buy the much bigger straw one. While there, pick up VT inspired maroon yarn, white polka dot ribbon, and orange polka dot ribbon.

2. Have your husband choose a show you care nothing about. (For me, I believe it was Gold Rush and whatever that show is about the people who live in Alaska as homesteaders.)

3. Start wrapping your wreath with ribbon. If you are OCD, this will take days. For me, it took about 2 hrs.

4. Figure out how to use the ribbon to make a loop for hanging. This involves a lot of knots and glue, especially if you don't want to cut more yarn. (What can I say, I am a lazy crafter.)

5. Wrap the thin ribbon around the wreath in a circle, glue to the back of the wreath. Then use the thicker wire ribbon to wrap around and make a bow.

6. Display proudly, supporting your fave college football team, also serving as a daily reminder that you are a grad student behind on class.

Have fun in the fall!