Literally, just ribbon (mine is from Sam's club, and is wired and covered in Glitter), scissors, and tape. Here's an interesting note here: if you don't mind glitter all over your kitchen, glitter ribbon is great. If you're a clean freak: steer clear of the glitter. My counters, stovetop, and floor are covered in glitter!
Next, use the ribbon to determine how long you need it. I just had enough to wrap maybe 2 inches along the back of the cabinet at the top and bottom.
Cut to size, then tape, yes, tape, the ribbon to the cabinet. That's it. Another note here: I'm one of the least OCD people you'll meet, and I also have a terrible time deciding if things are straight or centered. If you are a little more OCD, the project may take a longer time, or you may want to just not do it.
Another note, please be more intelligent than I am. In the process of cutting my first ribbon, I also cut the skin between my thumb and first finger (you know, that really skinny part?). I had to rush to the bathroom to stop the bleeding and grab a band-aid. I'm a klutz, so I'm sure that won't happen to you.
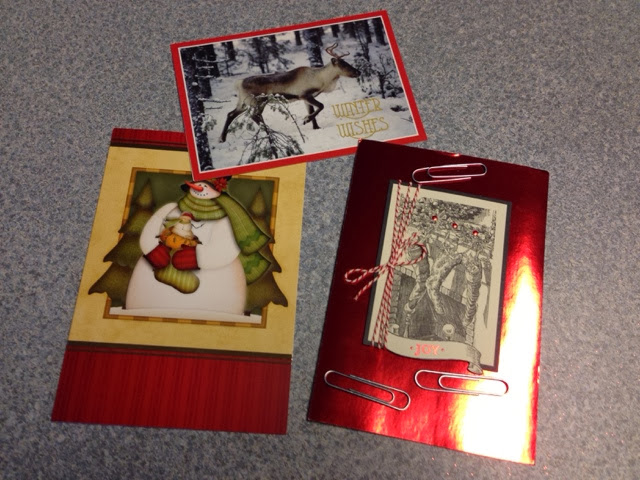
Next step: gather your cards and something to attach them. Right now, I have all of 3 Christmas cards. So I picked them up and used paper clips. The pin I found had super cute clothespins, which is great also, but I had paperclips, so that's what I used.
Attach the cards and you're done!! Here's my final project;
Happy decorating!


No comments:
Post a Comment